A Beginner’s Guide to Film Photography
For those new to film photography, finding a camera, shooting, developing, and printing can seem pretty intimidating. Fortunately, we have you covered with the basics to get you started! Why shoot film photography in a digital world? Film photography encourages artists to slow down, be more intentional and appreciate the art of photography in it’s true form. Film photography is modern day magic - a niche associated with charm and nostalgia. Film captures light in a special way, it renders tones, colors, and textures with a certain complexity that cannot be easily replicated. Film photography captures people as their true selves, with no airbrushing and no photoshopping, documenting their real persona in a flattering way. This is a trend we can get behind. Let’s dive in!
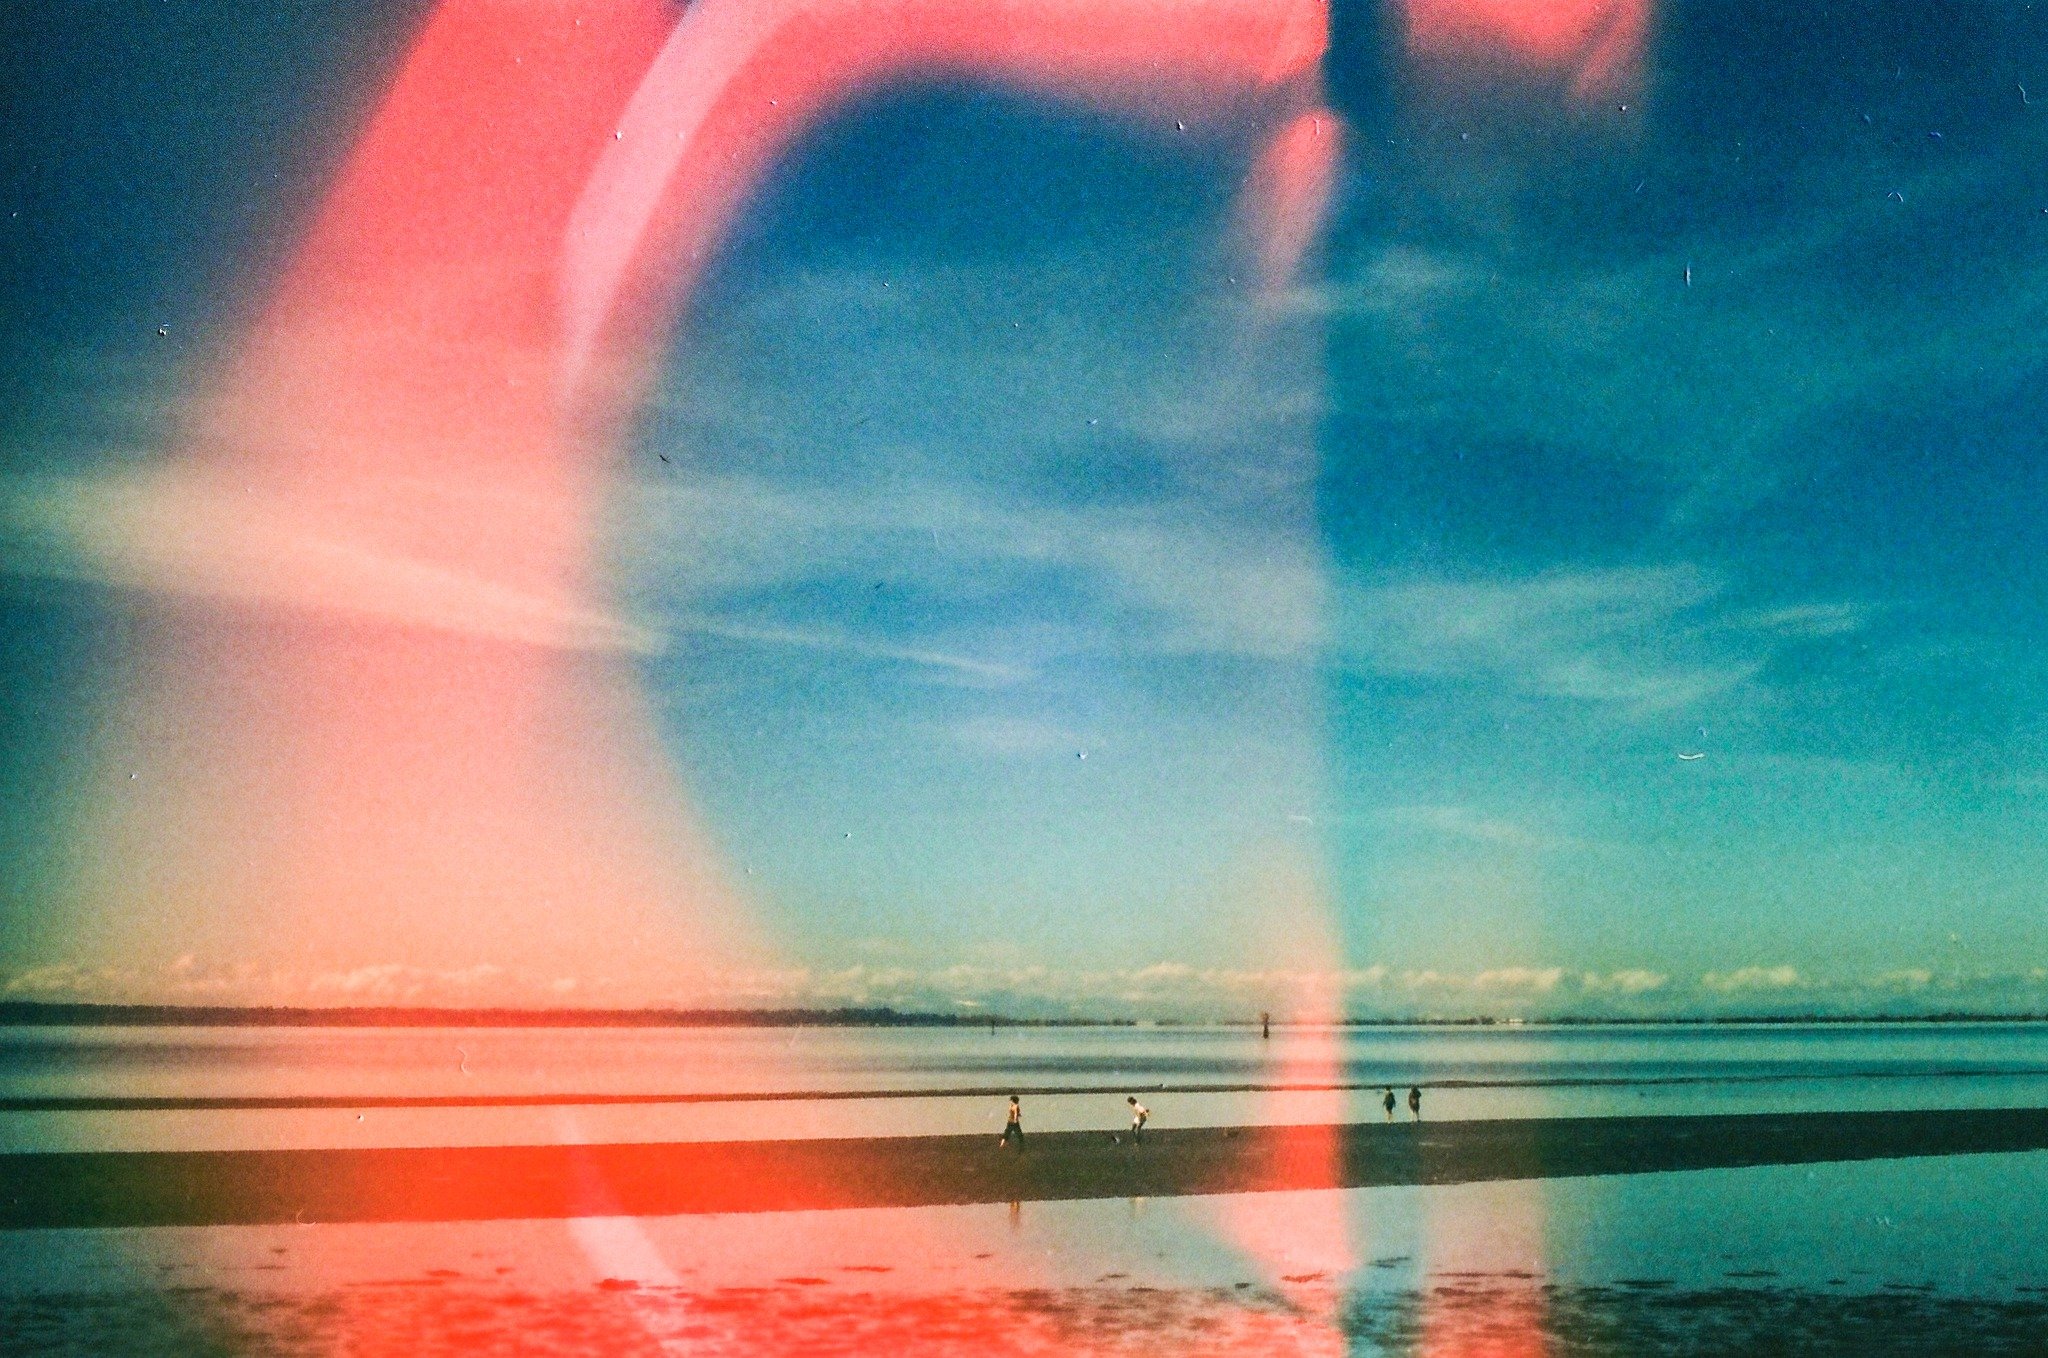
Image by Anna Hurley – Shot with a Canon AE-1 using CineStill film.
STEP ONE: GET A CAMERA
Don’t overthink it. Film cameras were meant to last forever. You don’t have to search for the latest and greatest gear, just find something that works! We would recommend asking family or friends to see if they have a film camera you can use or hitting the thrift stores. Amazon, Etsy and eBay also have decent used camera sections. This will help save you a bit of money while you experiment to see if you like shooting on film. KEH Camera buys and sells used cameras and will likely be more expensive, but you will have more piece of mind knowing exactly what you’re getting. If you aren’t ready to take the leap on a buying a brand new or used film camera, check out lomography! They have really amazing point & shoot disposable film cameras that are very capable of creating interesting art.


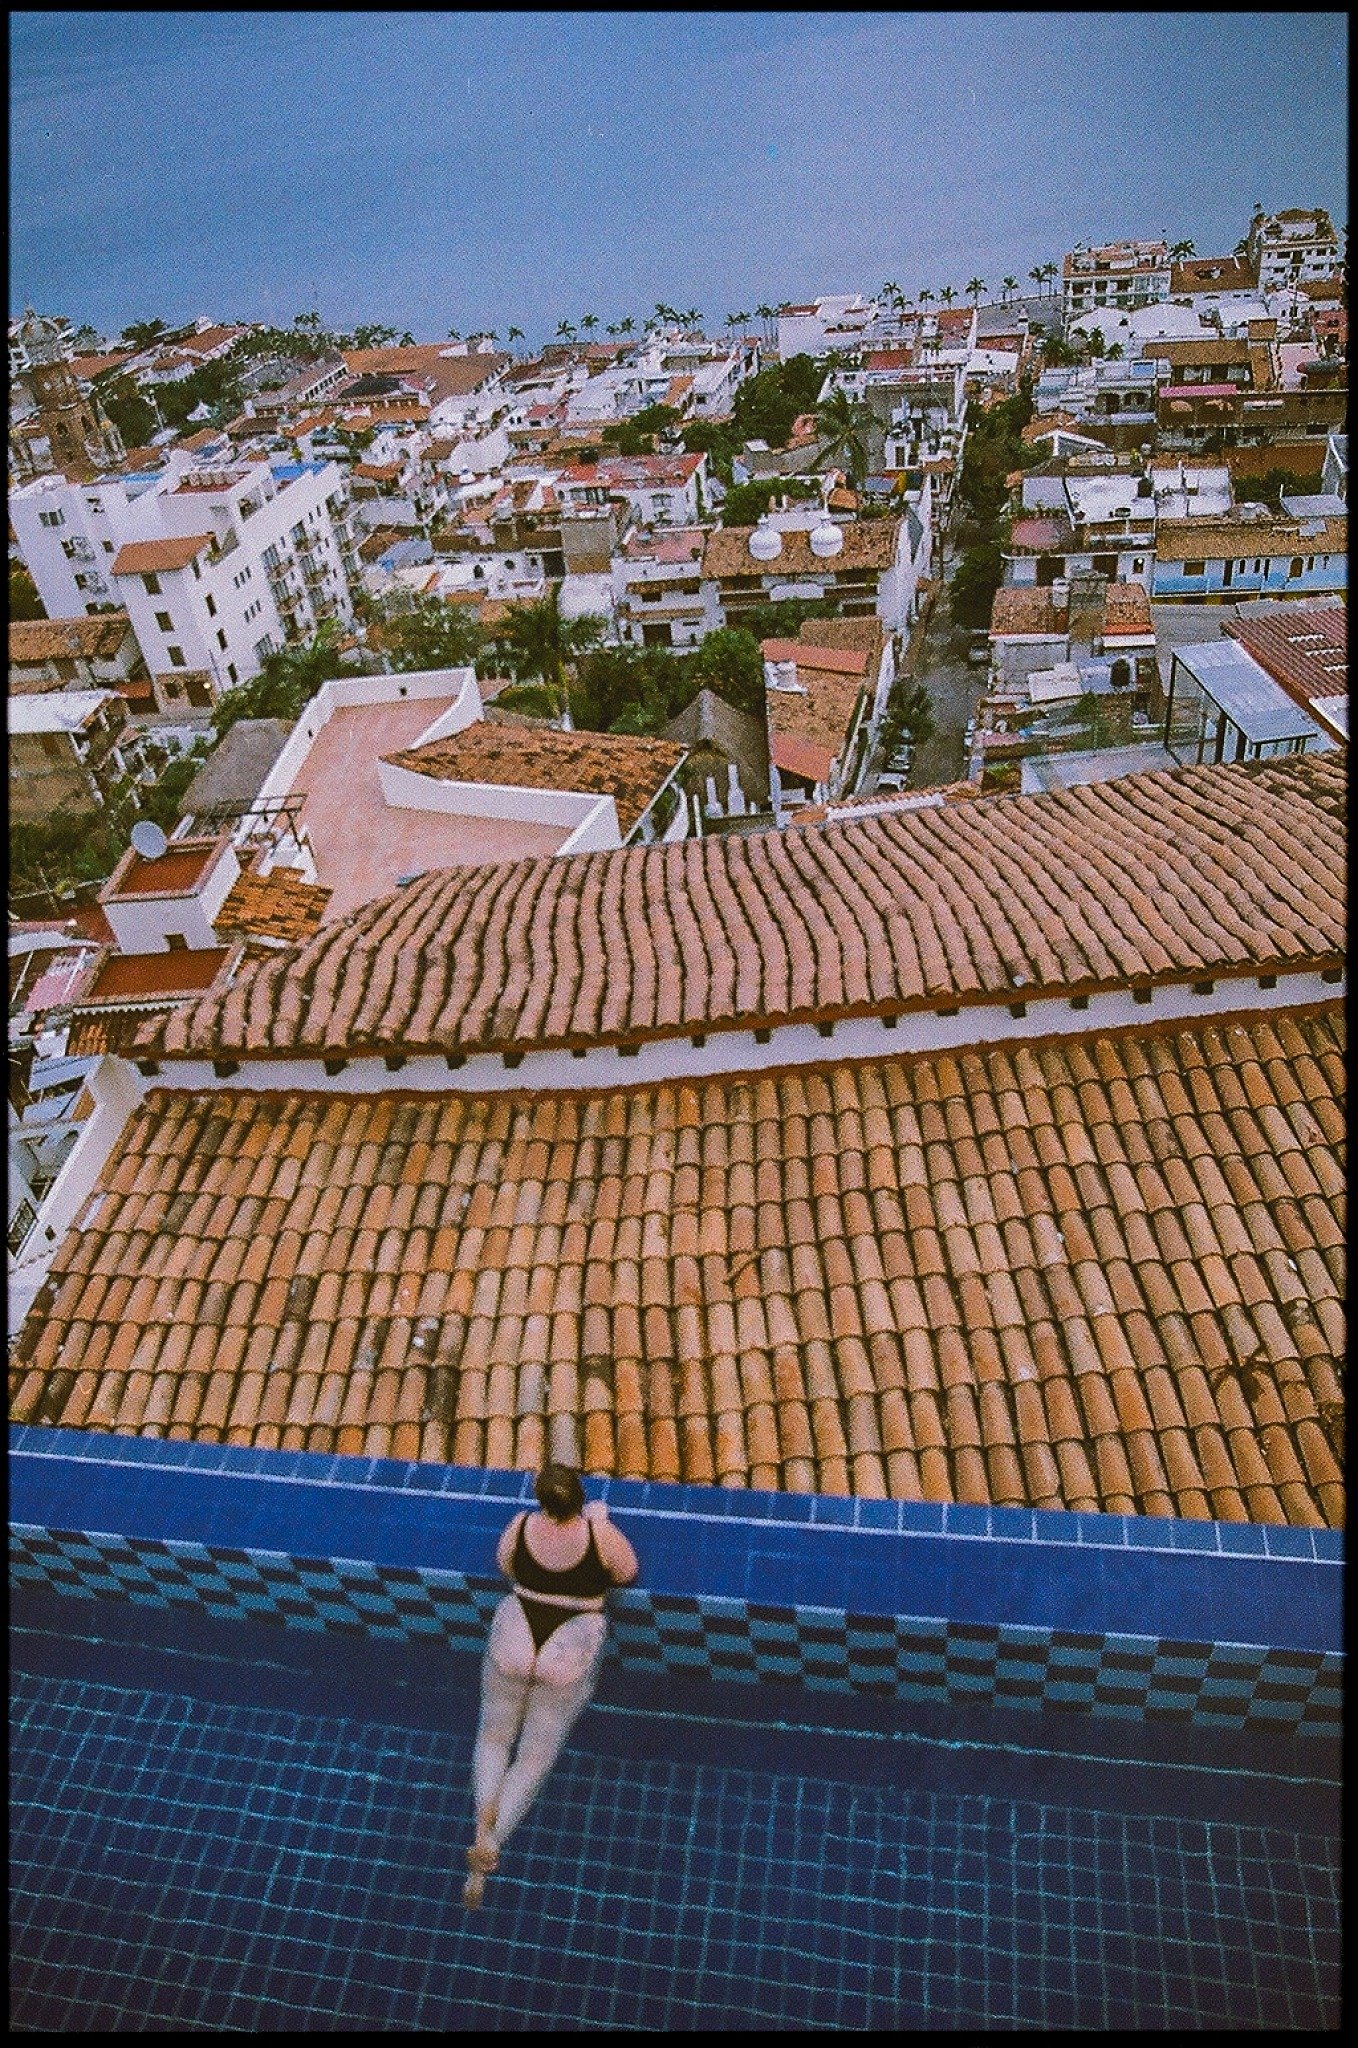
Image by Brittany Grubbs –Nikon f3 Kodak gold 200
STEP TWO: FIND THE RIGHT FILM
Now that you have your camera picked out, let’s figure out the film! You will most likely be searching for 35mm film unless you went with a medium format camera, in that case, it takes 120mm film. If you are not sure, you can google it by camera type. Once you know the size of film, you need to figure out what type of film to go with. There are three types of film, color negative, color positive and black + white. We suggest starting with color negative, it’s the most forgiving and has beautiful soft colors. Choosing a film stock depends on your taste. There are many film photographers that recommend trying out different film stocks until you find one you like. There are also photographers that think you should just pick one film stock and stick with it for a while before you make the decision to switch to another. Here are a few of our favorite films to start with:
Kodak Portra 400 | This is a highly versatile and popular film. It is very forgiving when it comes to exposing properly which makes it a great first film to practice with! Known for it’s true to life colors and it’s accuracy in capturing skin tones this film is a favorite among portrait, landscape and wedding photographers.
Fujifilm Superia 400 | A budget friendly introduction to fujifilm, this multipurpose color negative film boasts true-to-life tones, excellent skin tones and fine grain. Great for action shots, low light with flash both indoors and outdoors.
Ilford HP5 Plus | A beloved black + white film stock that offers excellent versatility in various lighting conditions from low light to bright sun. Retains details in highlights and shadows with a soft artistic touch of grain.


STEP THREE: RATE YOUR FILM
With film photography, you don’t have the luxury of looking at the back of the camera to see if you exposed the image correctly. So before you begin shooting, you need to rate your film. Rating your film is basically just setting your ISO. You will see reference to “box speed” which means just matching your ISO to the number on the film box. For example, Kodak Portra 400 would be rated to ISO 400. But, most film photographers like to overexpose their film a tad because film does a lot better overexposed vs underexposed (the opposite of digital). If your camera has an auto exposure mode, test that out for a few shots and see how it works. One great way to make sure you get close to the right settings is to bring your DSLR along. You can light meter, then put those settings on your digital camera, and see how it looks, then shoot it with film. It’s a lot of extra gear to carry around, but it might save you from blowing a roll of film. After some time experimenting with a few rolls of film and your internal reflective light meter on your camera, you’ll most likely want to upgrade to a smaller handheld light meter so that you can expose it properly for the film.
This Sekonic Light Meter is a great one to begin with:
If you want to learn more about rating color film and light metering this blog from The Find Lab does a great job breaking it all down: Rating Color Film

Image by Stephanie Cerio
“Shot on 35mm kodak portra 400 with a canon ae-1. My brother and sister in law (my number 1 models) at their recent maternity session last year. I completely adore how these tones came out using this film.”
STEP FOUR: DEVELOPING YOUR FILM
You did it! You shot your first roll of film! Now what? Unless your camera auto-rewinds the film, do a quick Google search on how to wind it properly so you don’t expose it. Then you need to find a lab to develop it! If you know of a reputable local lab, great! But most film photographers mail it off. As a bonus, many labs provide you with feedback on each roll of film they develop. There is an additional cost for the feedback, but it is super helpful when you are a beginner! You can’t go wrong with Indie Film Lab or The Find Lab. A good lab is crucial as half of the process of film photography is developing the negatives, scanning and color correcting the film. The better the lab, the less work you’ll need to do when you get it back. When you’re getting your film developed, we would suggest starting with normal processing and basic scans. That just means they develop your film normal and they scan your film without any corrections. The lab will then send you jpegs of the scanned negatives. With a great lab, you will fall in love with the results! You may end up adjusting things like temp, exposure, and contrast and maybe play with cropping, but most of the time, the images look great straight from the lab.


STEP FIVE: SHOOT MORE
If this was your first roll of film, be ready for your photos to live as a fond memory in your head should anything go wrong. Go in accepting that there’s always the possibility of failure. Don’t give up and don’t be discouraged. Even the most seasoned film photographers get back a roll of film they’re not proud of from time to time. Or maybe you get your film back and you’re IN LOVE and you’re hooked! Now you can start playing with some more types of film … or just stick to what you love. Remember through all of this, what really matters is that you’re out there making images. And just because it’s the most talked about camera or process or film doesn’t mean it’s the best thing for your own personal workflow. Start where you can with what you have. The only thing that matters is the work you produce, not what you produce it with. And just keep shooting!
Not ready to dive into the film world but you love the nostalgic look and feel of film images? We got you!
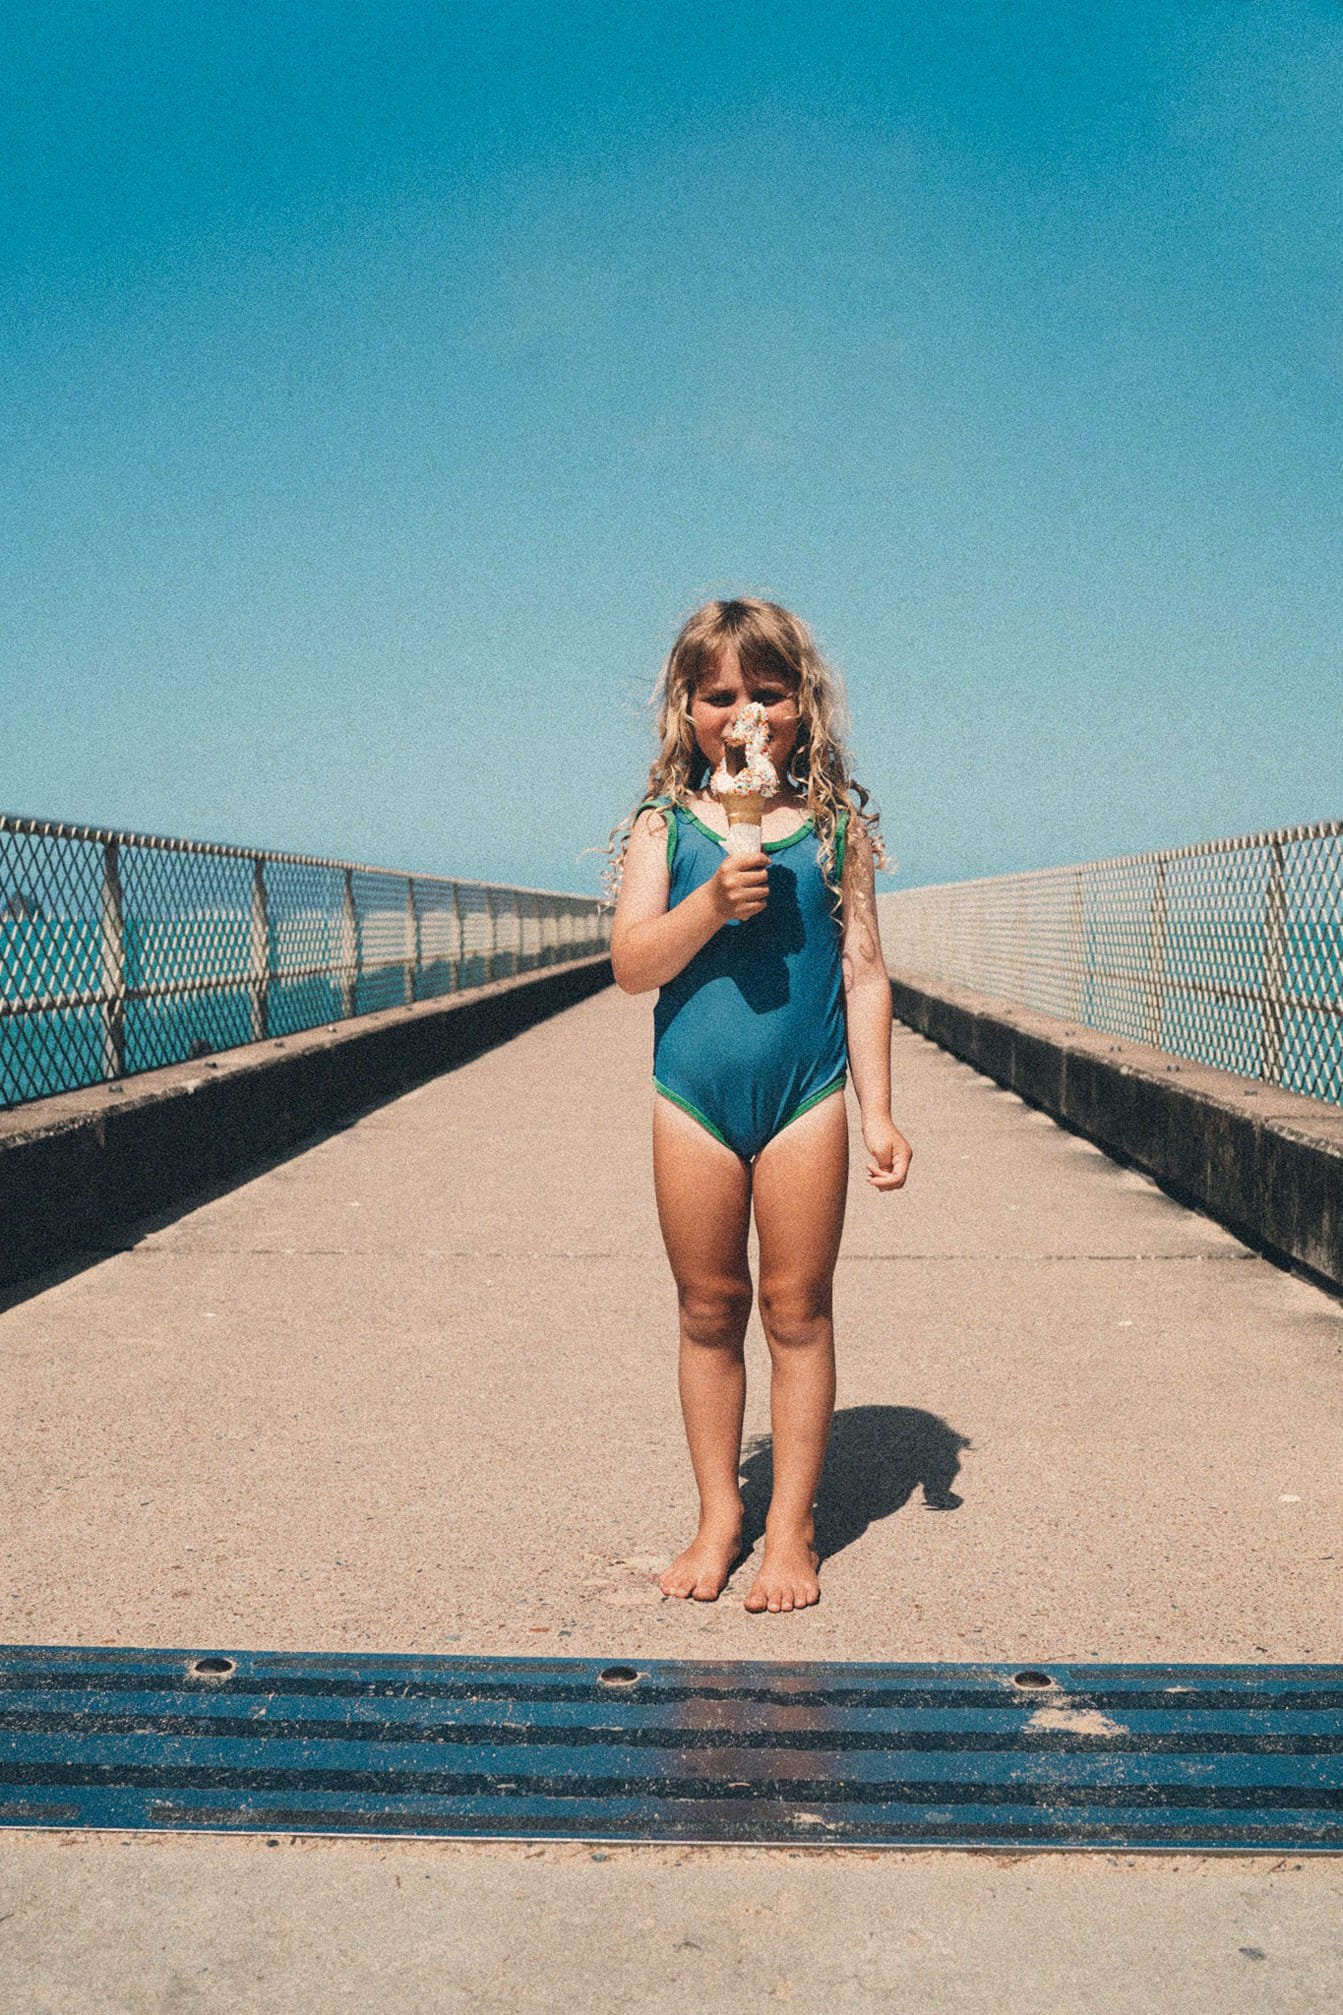
Image by Nadine Dohnt – Shot on a Sony a7iv - 35mm 1.4. Edited with Archipelago presets and lots of tweaking.
5 TIPS TO MAKE YOUR DIGITAL IMAGES LOOK LIKE FILM
Bring down the clarity. Film photos tend to be less sharp and decreasing the clarity helps emulate film.
In the tone curve, adjust the blacks and whites. To get a more faded look, bring your blacks up and your whites down. This gives your image a more faded and vintage look.
Play in the HSL panel. Different types of film have different color tones. What tones are you going for? Some films types are known for their vivid and saturated tones. Others are known for providing more muted pastels with natural skin tones. Pick a film image that inspires you and try to emulate those tones in the HSL panel.
Grain. This might be the most important step in giving your image that film feel. Grain adds a pleasing and painterly texture to the image. Play with the size and texture using your sliders. Keep the grain subtle and soft to emulate the look and feel of film images.
Presets! When in doubt, find the perfect preset! Check out the Presets currently available at Unraveled HERE. We highly recommend checking out the packs created by Mari Trancoso if you are looking to emulate film.
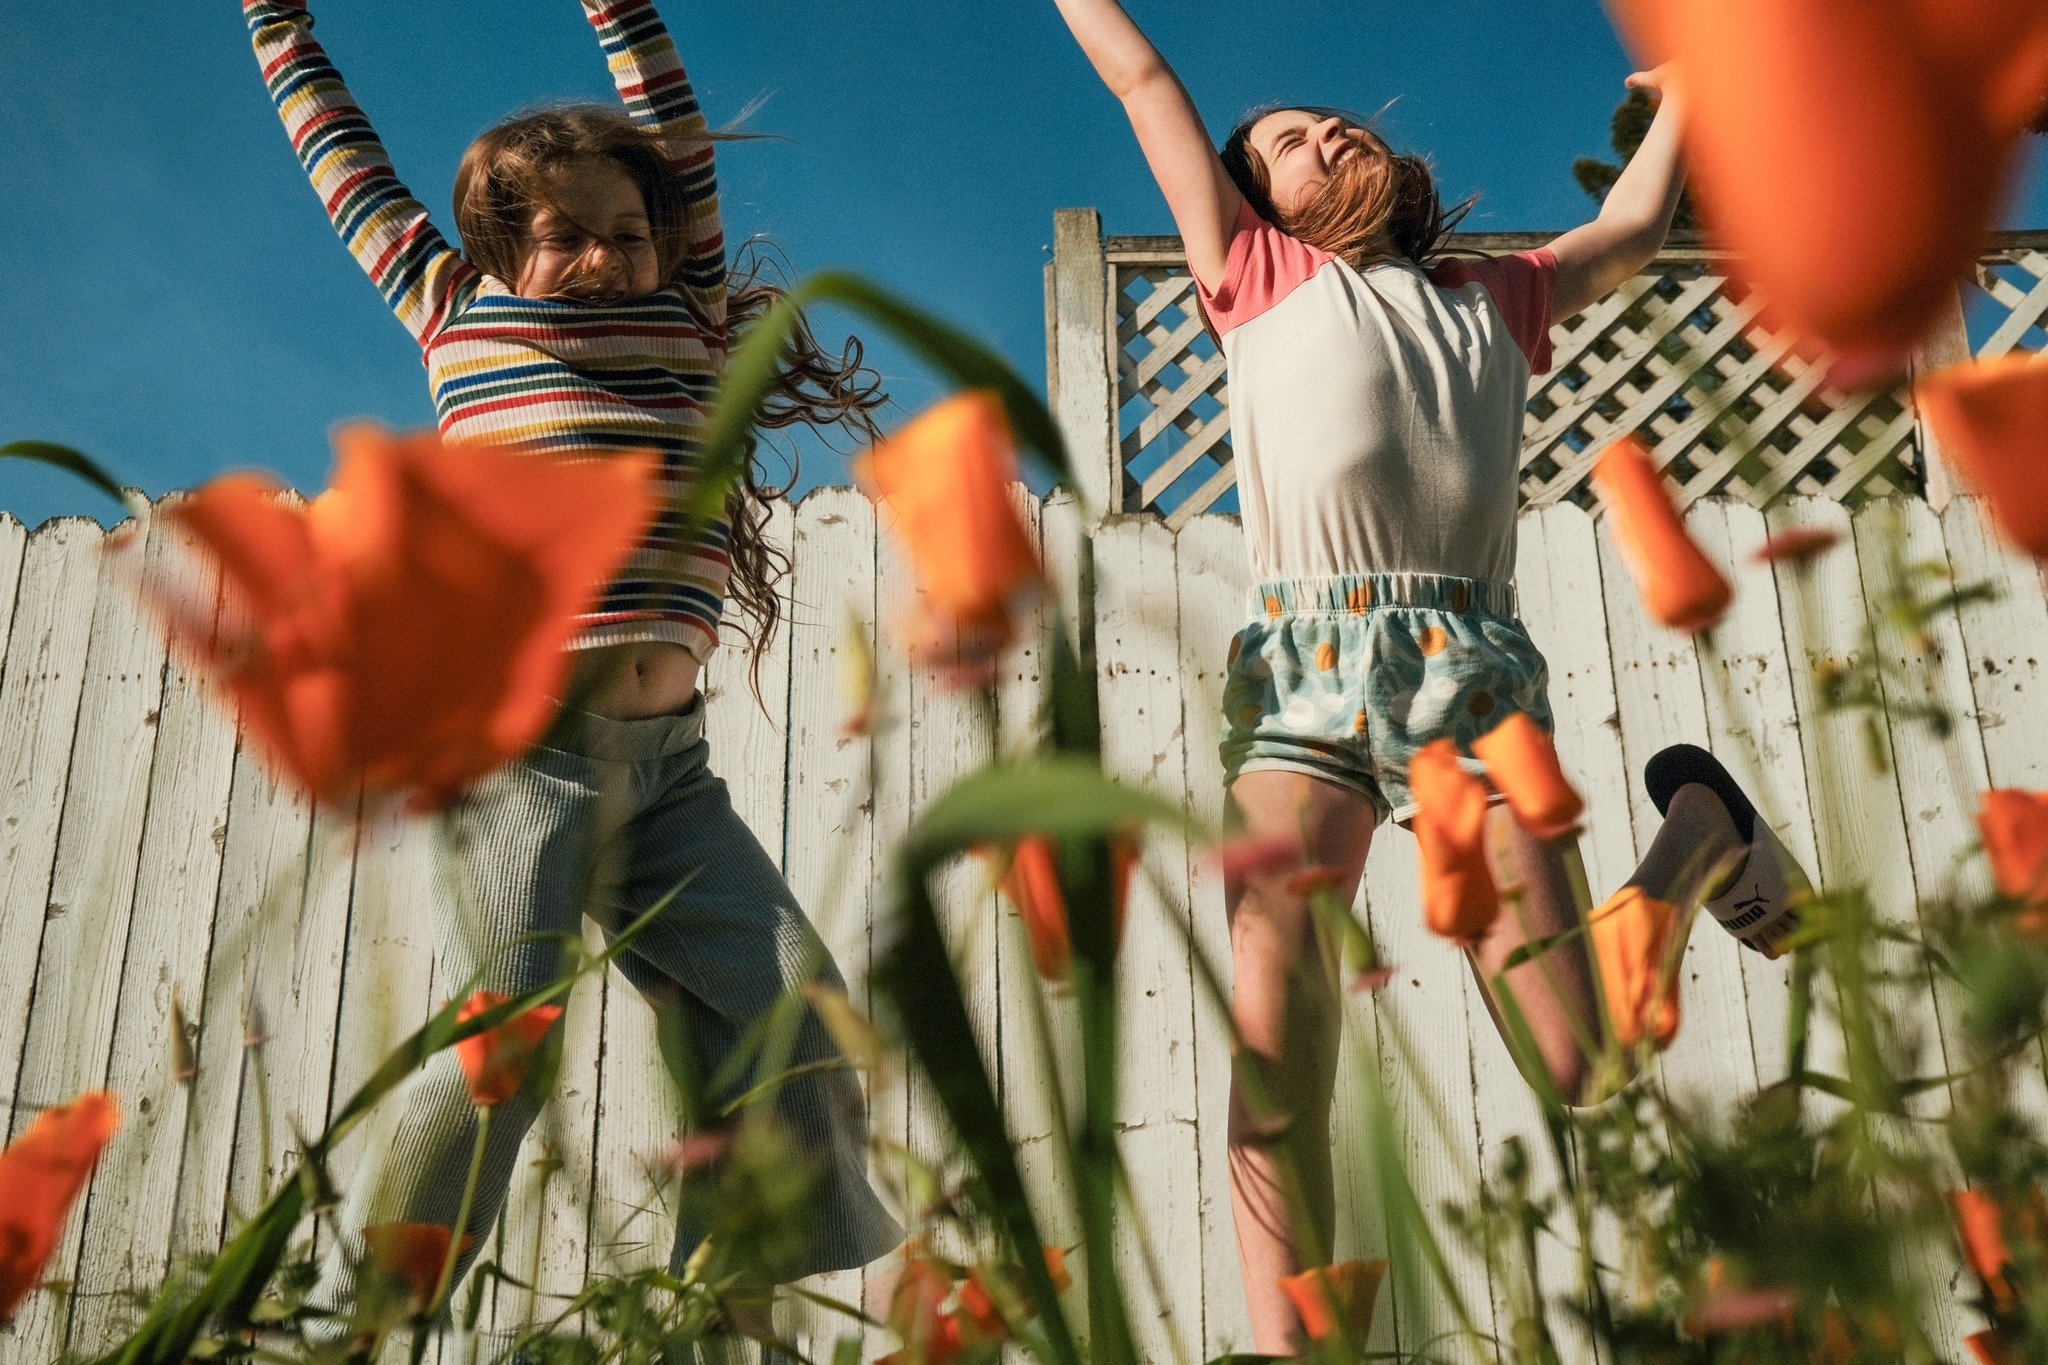
Image by Kate Williams – “Shot with my Fujifilmx100v in JPEG using Vibrant Arizona recipe and tweaked in LR.”
Unraveled Academy is an online learning platform designed for photographers at every stage of their creative journey! We are the community you’ve been searching for!