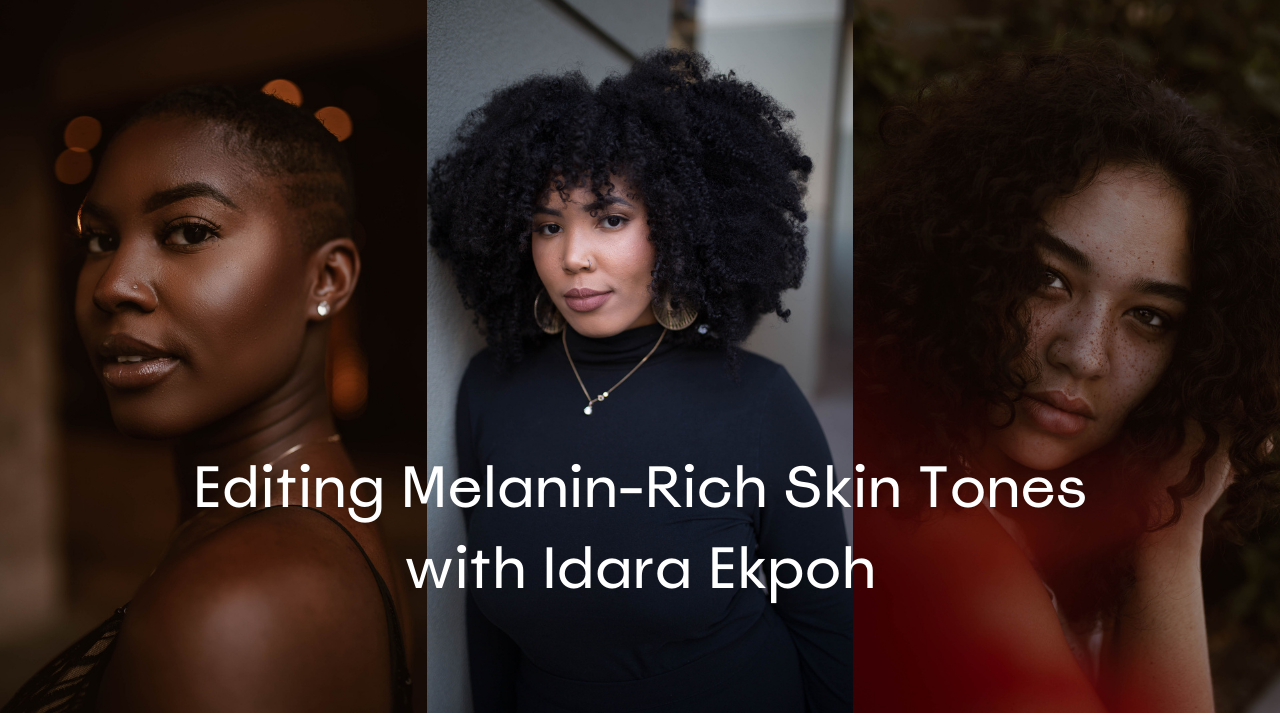
Editing Melanin-Rich Skin With Intention by Idara Ekpoh
When it comes to editing skin tones, it is about preserving depth and maintaining your subject's authenticity.
As a portrait photographer and also as a Black Woman, I understand the importance of ensuring that all of my subjects are properly captured regardless of their skin tone and complexion. My work centers around identity and storytelling, so I approach editing as an extension of that. Skin tones carry nuance. Undertones can shift between golden, neutral, and cool and that can easily be lost if you are editing too aggressively.
When we as photographers are not intentional with how we expose our images or apply presets without refinement, our subject skin tones won’t be represented well.
The goal is never to change the way someone looks. The goal is always to honor the way they look.
Throughout this blog, I want to share with you some of the aspects I consider in Lightroom when editing melanin-rich skin tones.
1. Start With Light Before You Start With Lightroom
All great images are going to begin with intentional lighting. How you light your subjects is going to make a big difference in how you capture their skin tones. Yes, things can be fixed in post, but it’s important to get things as close to accurate when we are shooting because if lighting is flat or not exposed properly, no preset may be able to properly fix that.
When shooting, it is important to adjust your exposure and white balance properly. Paying attention to these two settings in your camera will help you a long way throughout your editing process.
A second tip is that I like to look for lighting that complements my subjects and doesn’t blow them out. So finding lighting that is lit evenly or does have too high of highlights that blow out certain aspects of their skin.
Once you get in Lightroom, you can further adjust these aspects, but you have now given yourself a more solid foundation.
In Lightroom, I like to focus on the Basic section. In this section you want to focus on the following:
Adjusting your exposure slowly, until it looks just right.
Avoid over-lifting shadows with the shadows slider
Avoid pushing your highlights too far
Use your temperature sliders to fix your white balance to ensure the subjects skin tone remains consistent
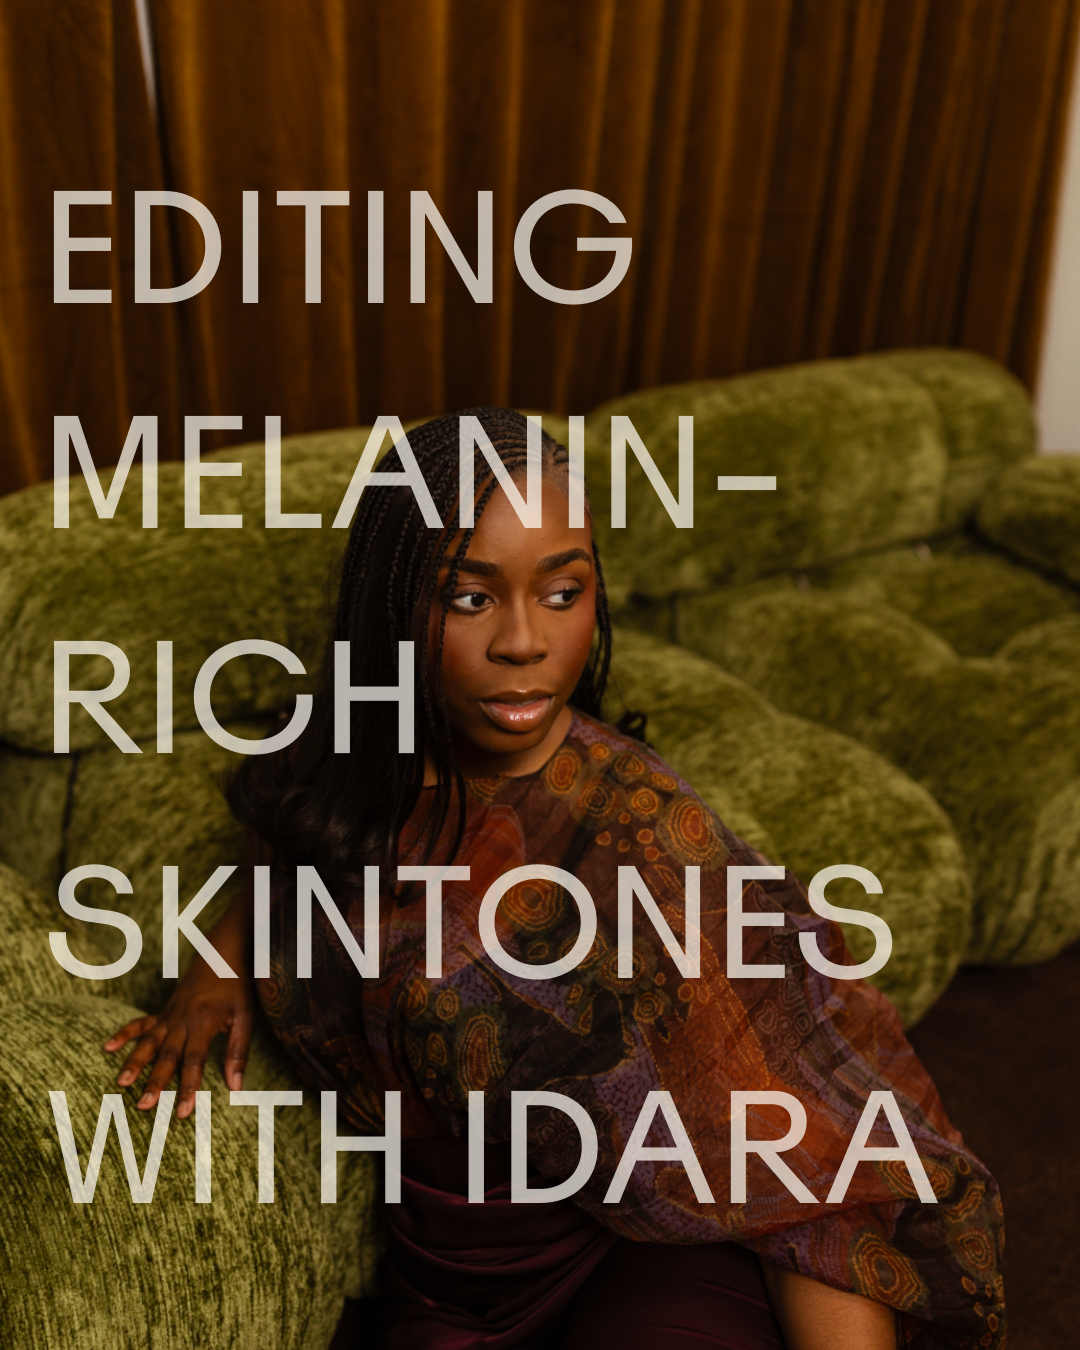
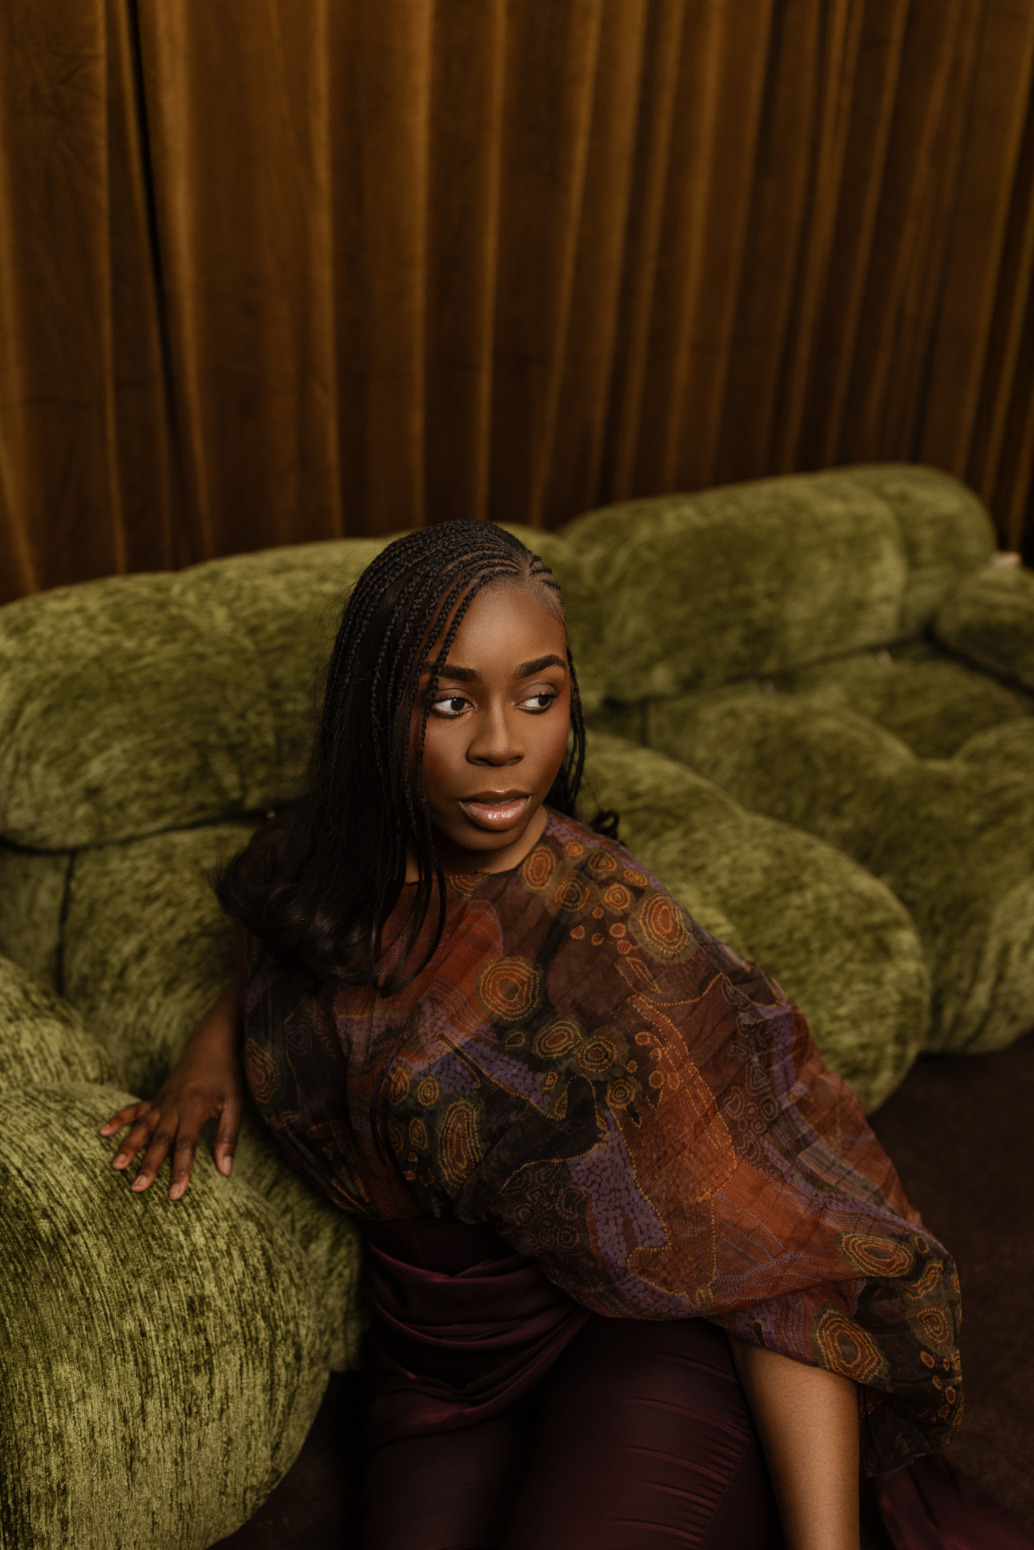
The image below is a self portrait that I took. I shot this image with continuous light, and honestly was really happy with how it was shot out of camera, but to get it to where I wanted, I made some adjustments to the exposure, contrast, and shadows before feeling like I had a solid foundation for my edit.
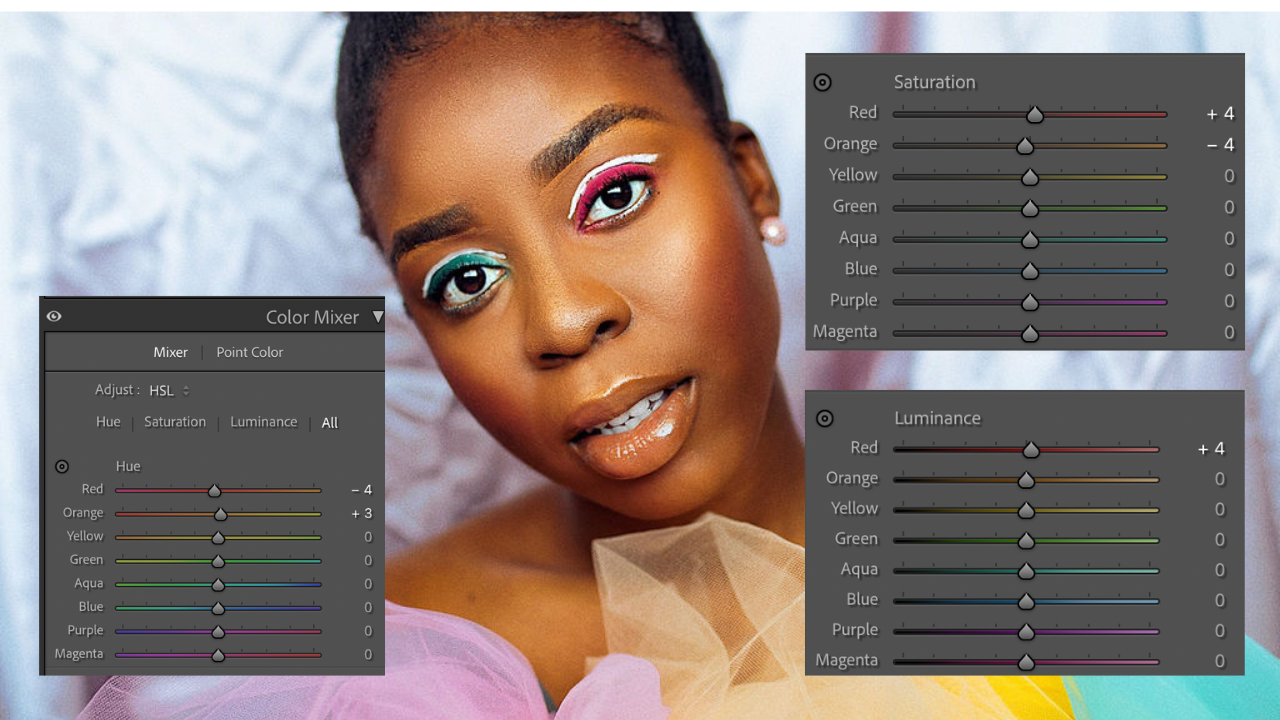
2. HSL Panel
Most skin tones sit within the following colors:
Red
Orange
Yellow
Small HSL adjustments can dramatically affect the skin tone of your subject.
For example, :
Orange Hue
If the skin is feeling too yellow, you can shift the slider toward the red
If the skin feels too red, you can shift the slider toward the yellow.
Orange Saturation
Reducing the saturation is going to stop the skin from feeling too intense.
However, if the skin feels muted, you can increase to add color back in.
Orange Luminance
I like to use luminance sliders to add glow to the skin. You can increase slightly to do so.
If you need to restore the depth, decrease the sliders slightly.
Overall, you want to adjust in small increments and focus on how the changes are impacting the look of your subject
Basic adjustments minus skin detail
3. Step Away and Look at the Full Image
I think it’s very important to give yourself time and space with an image. If you feel like you are spending a lot of time editing one image, step away. Literally close your computer and come back to it later. Sometimes your eyes need rest too.
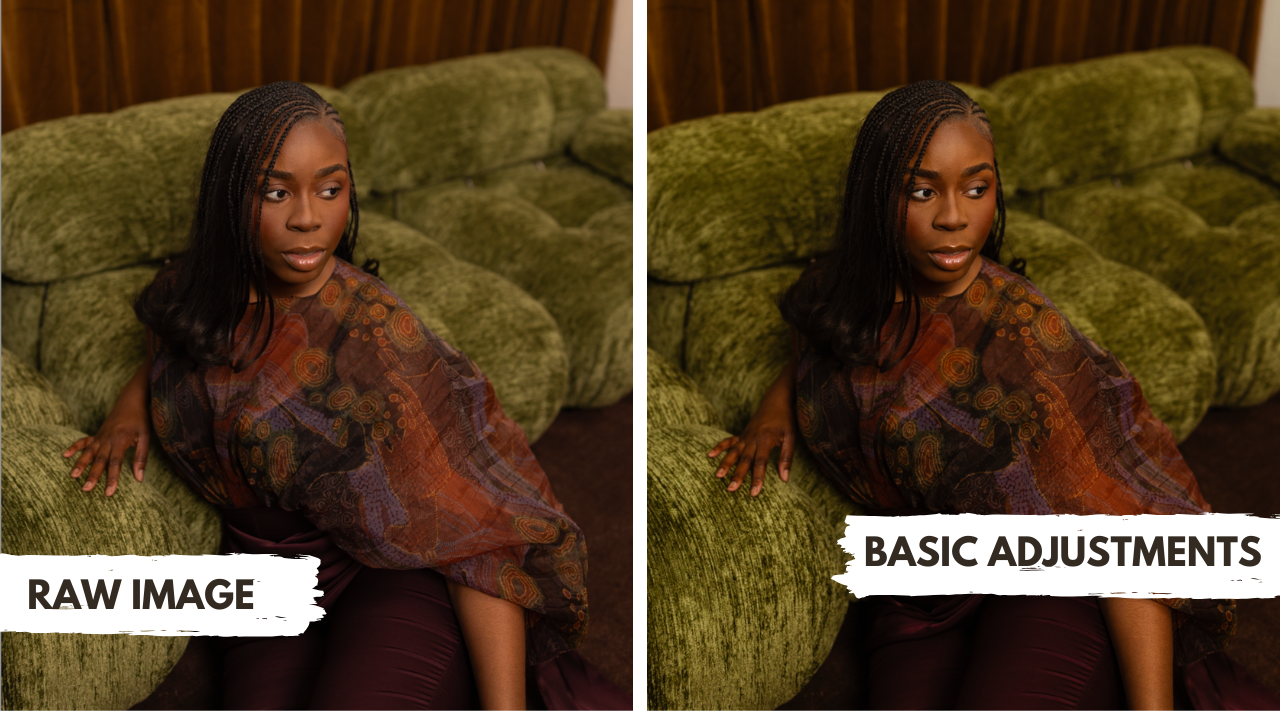
Secondly, always look at the full before and after. I love to compare the before and after to be reminded of where I started in case I need to pull back in any way.
4. The Truth About Presets and Melanin-Rich Skin
Presets are a starting point, and not the final product.
In my experience, many presets are created with lighter skin tones as the base reference. This is why I believe they are a good starting point, but not one size fits all.
If you’re using a preset, you should do the following:
Correct your white balance first.
Check the HSL panel to make any adjustments to the Hue, Saturation and Luminance in the skin.
Always compare your edit to the original image.
I always want to encourage photographers to build their own custom base presets, but if you aren’t sure of where to start, I love that Lightroom includes presets for different skin tones for you to use as your base. You can use those and refine from there.
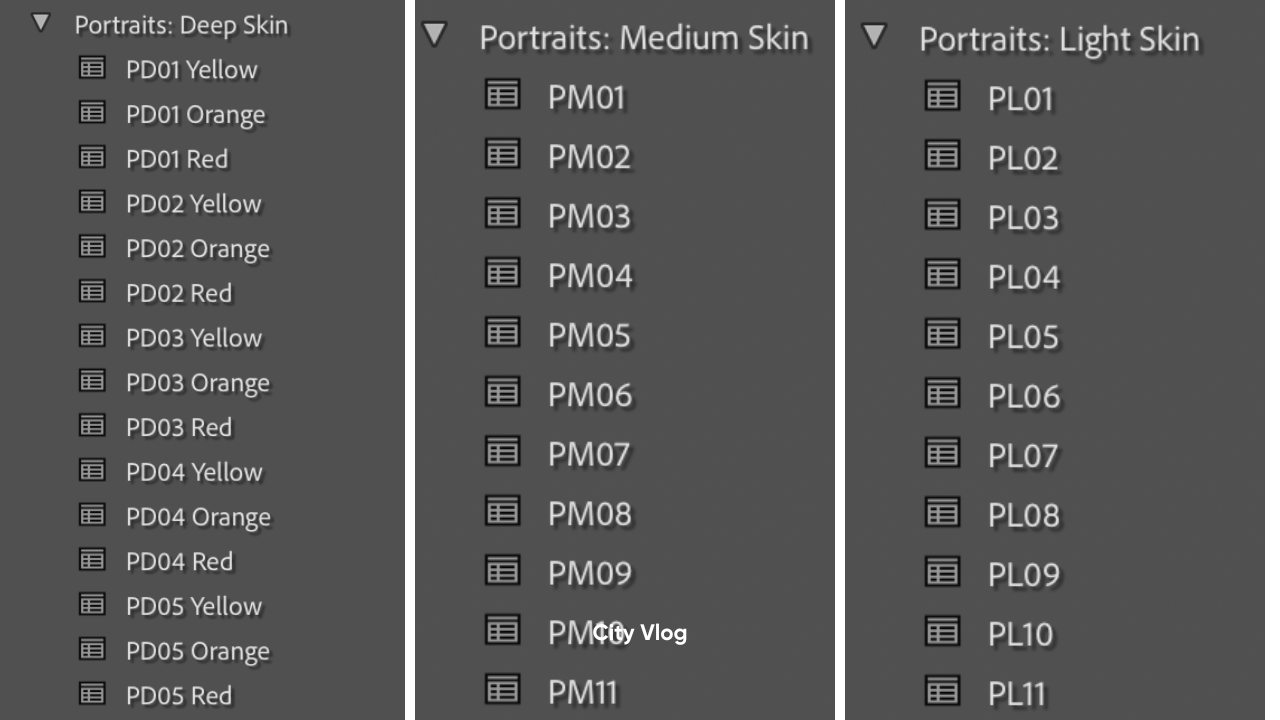
Lightroom Skintone Presets
5. Edit With Intention
Editing isn’t just a technical process, it’s an act of care.
I originally started as a photographer because I knew that historically, photography has not always been kind to deeper skin tones and capturing them accurately. I always wanted my work to feel different, so I focused my career in ensuring that everyone I capture feels like they are captured with care. I always want my subjects to feel captured with intention and with respect.
I believe that as photographers, we all have that responsibility. I want to encourage you to slow down and pay attention because the goal of portraiture should always be to make someone feel seen.
Final Edit