Creative Portrait Composites with Julie McGregor
We are so excited to welcome Julie McGregor to the blog today. Julie is sharing an amazing tutorial and video (at the end!!) on how to accomplish creative portrait composites with us. Her process is fun, easy-to-follow and super inspiring! You can check out more of Julie’a work on her instagram HERE.
For more tutorials and videos from like-minded artists and instructors, please join us in the Academy.

Being stuck at home has been so hard on all of us in so many ways. But the silver lining in all of this has been that it has stoked my creative fire that often gets neglected in my efforts for the perfect shots for my IG feed. I was inspired by some seriously badass people/animal composites I have seen around the interwebs, and decided to mash up my five year old and his very best buddy, Knuckles the cat.

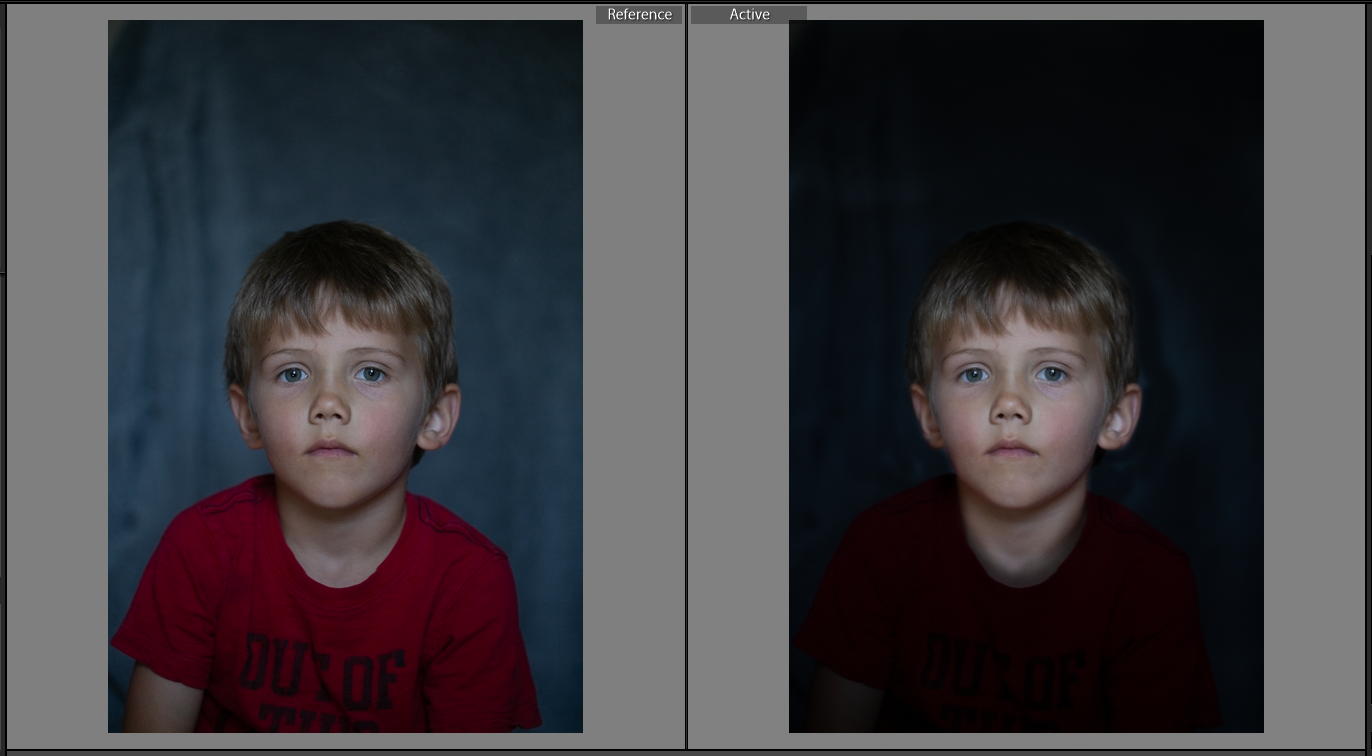
For my son’s photo, I wanted him on a dark background, so I threw a grey blanket over a chair and faced him towards a window. I asked him to not smile, because I knew it would match the cat’s resting B face more than a smile would. Maybe if it was going with a cute smiley puppy I would have had him smile, but I knew that serious face would match up better.
The cat was more of a challenge, but after 4,586 shots, I was able to get him to look right at me. I also made sure here to try to shoot them both from the same straight on angle, and not above or below.
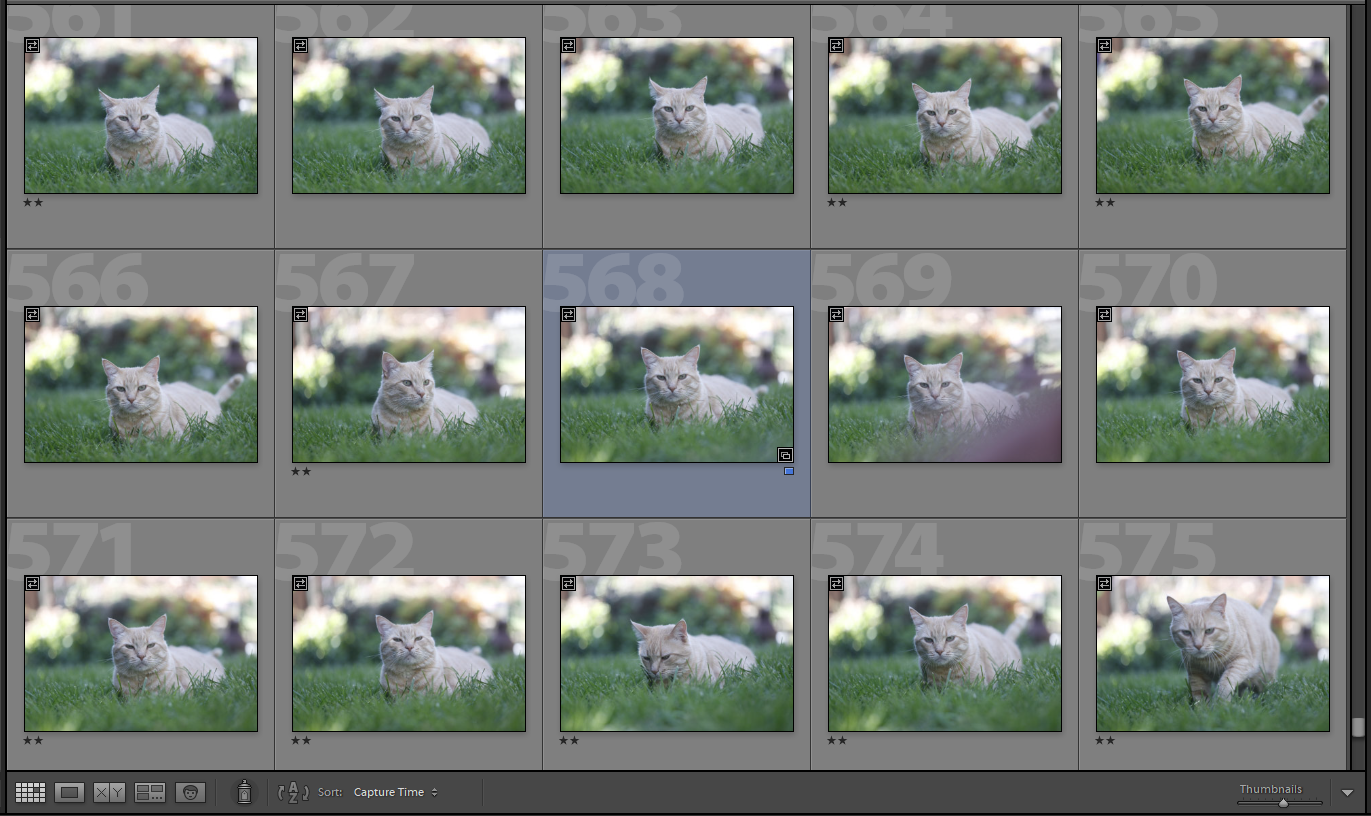
For these I used my 100mm lens, honestly because that was what happened to be on my camera at the moment, and I made sure to close down my aperture a bit, f/2.8 in this instance, to make sure their entire faces were in focus.
Once in LR, I used an exposure brush to bring the background around my son all the way down (this was why I used a dark, plain background for him). I knew I wanted the final image to be black and white, so I didn’t do anything else other than make sure the images were properly exposed.

Next I brought both images into Photoshop. If you take the time to learn a few things in PS, layer masks are, in my opinion, one of the most valuable tools you can have. There are SO many things you can do. Head swaps and composites, and finer adjustments than LR allows. Here is a video of how I put the two images together using layers and masks in Photoshop!
Once I brought the color image back into LR, the rest was just playing around with how I wanted the image to look!

I love making creative composites, and this project was a really fun one. My son was also super stoked to see himself as “half cat man”. I can’t wait to see what you create!