How to start a Squarespace website for your photography business
Many photographers and visual creatives use social media as a means to present their work online. While Instagram or Pinterest are powerful platforms to showcase your expertise, the ultimate goal is to bring your followers and leads to a place that’s more personal - a website. A website allows you to control your brand narrative, so that when people look you up online, you are in charge of what they learn about you. A website also serves you as a platform to showcase your best work, it helps you gain more credibility as a professional and converts your visitors into clients. Does this sound amazing? Great! You’re about to learn how to set up a killer website for your photography business, using Squarespace.
Squarespace is probably one of the most straightforward site building platforms. It’s very DIY friendly and it will make you feel like you actually know your way around. But, even with a great tool like Squarespace, building a website on your own will have you face a lot of decisions: from choosing your typography and color palette, to deciding on page structure and content blocks.. In this article, we will explain how to create a Squarespace website - from concept to a successful launch. We will also share a list of things you can do to enhance your photography site, so it always looks professional, unique and memorable.
Table of contents:
Getting Started with Squarespace
Planning your website content
Gathering visual inspiration and making design decisions
Choosing a template and building your site
Keeping in mind SEO
Website metrics and recommended tools
Launching your site

1. Getting Started with Squarespace
Squarespace comes in 2 versions, 7.0 (the older version) and 7.1 - which is where you, as a new user, will be onboarded. You can choose what version to start with (7.0 or 7.1), but know that they are completely different in terms of functionality. If you are a newcomer to the platform, we recommend you jump on 7.1. Just expect to get frequent updates and enhancements to existing functionality, as the Squarespace team continues to work on it. Want to learn more about 7.0 vs 7.1? Read this.
In today’s article we will focus on how to build a website on Squarespace 7.1.
Start with a trial
Squarespace lets you enjoy a 14 days free trial period - which is plenty of time to get acquainted with the platform and experiment with your website design. If you’re curious, you can even create two separate site trials, to explore both 7.0 and 7.1. There’s no need to worry about domain name at this stage.
Select a Squarespace template
When you start the trial, you’ll have to select your template. Go to squarespace.com, click on “Get Started”, follow the prompts and choose one of the provided (7.1) templates by Squarespace. Know that it doesn’t matter which template you choose, as all templates in 7.1 have the same underlying structure and feature. At this point, it’s more about choosing a design that you like. No pressure though, you’ll be able to edit the design later (more on this in step 4.) A few minutes after you’ve selected your template, you can start editing your future website.
*If you would rather start with a 7.0 template, here is a video that explains how to do it.
Choose a Plan
When your trial period expires, you’ll need to upgrade your Squarespace plan. Plans start at $12/month, billed annually. It includes free hosting, a 1 year free custom domain, free updates, in-house features and plugins, plus free support. We highly recommend to choose the Business Plan over a Personal Plan. Yearly, it’s a $70 difference, but you get a lot of powerful marketing tools and customization features for that amount - such as a top announcement bar, pop-up options, advanced analytics, advanced development features and the possibility to use additional code to further customize your site. In order to build a functional photography website, all these additional features will come in handy, especially if you plan to do a lot of marketing and SEO, create funnels, grow an email list, build landing pages based on services, location, freebies, etc.
Additional Resources:
Getting Started on Squarespace
Getting Started with or moving to version 7.1
An honest Squarespace 7.1 review from a wedding photographer, who recently switched from 7.0.

2. Planning your website content
Before you choose a template and start building your site, it’s important to know what content you want to have on it. It really helps to have an outline or a general structure of your future website. Squarespace provides a lot of different content blocks that you can use to build your pages. If you don’t want to waste time on experimenting with blocks, layouts and fonts, it’s better to plan it out in advance then stick to that vision while implementing your new site.
If you’re not sure where to start, here are 4 things that will help you shape your site direction, aesthetic and content:
Start with a sitemap
A sitemap is the list of all the pages and sections on your website. Grab a piece of paper and write down the pages you want to have on your site. Then, define what sections you need on each page. It doesn’t have to be complex at first, start with the essentials - the pages that you want to have in the main navigation (Homepage, About, Portfolio, Blog, Services/Pricing, Contact Page). Here is a great example to help you get started. Cover the basics first. You can always add later additional pages, such as: FAQs, Experiences, Education, Presents, Workshops, etc.
Define your clientele
Figuring out your client profile helps you niche down your marketing efforts and shape your website, so that it speaks to your ideal client through each image, word and design element. Think who your clientele is (ie. couples, seniors, brands), where they live, what they like (are they adventurous and love hiking, or prefer cocktail parties in high end restaurants?), what matters to them in terms of images, what values they live by, etc.
Defining your client profile is not about altering or adapting your own visions and preferences to fit that clientele. Instead, think about what YOU want: what type of clients you enjoy working with and what type of photography work you love to do the most. Define your ideal client through that perspective, then build your communication (visual and words) for that particular type of person. And by communication we mean not only on your website, but also your social media posts,your emails and every touch point of your brand.
Determine your business strengths
What are your strong points? What do you want to have your business associated with? Take a good look at your client testimonials - they are a golden mine of wording and resources for your website copy. Pay attention to what fears they had before choosing to work with you (or any photographer for that matter), and ask yourself how you are solving them. Notice what adjectives they used to describe their experience with you - is it adventurous and fun or maybe candid and intimate? These will come in handy when you start prepping your site copy, manifesto, main statements and taglines.
Decide what you want to showcase on your main pages
Start planning your home page, about page, portfolio page, etc. Think about the type of content you want to show, so you can plan which Squarespace blocks you can use, ie. do you want a dynamic website with sliders, animation effects and video backgrounds? Elaborate on the journey your site viewers must take from the moment the land on your site till the moment they send you an inquiry. What content do they need to see before deciding to submit a message via your contact form? What information will make them relate to you and want to hire you?
Here is an example of how this description can look like for your Homepage: full bleed slider at the top, a short blurb about your business including your location and what you do, your most recent blog posts, a slider with client testimonials, quick links to your photography categories and a final call to action that leads to your contact form.
Additional Resources:
6 tips for building a strong pricing page on Squarespace
Freebies ideas for photographers to offer on your website
11 tips to make your Squarespace site more attractive (Free Checklist)
6 ways to drive more traffic to your blog
A Better Blog Content Strategy For Your Photography Site
3. Gathering visual inspiration and making design decisions
It’s time to shape your research into a clear visual plan. In this section, we’ll help you decide on the general aesthetic of your new Squarespace website. This includes choosing the fonts, colors and decorative elements, preparing your branding(even if it’s just the logo), and curating a selection of images/videos that will be featured on your main pages. You can use Pinterest, a folder on your computer or any of these tools to make this process more fun and effective.
Let’s start:
Gather inspiration
The easiest way to gather visual inspiration is to look at websites that you like. These don’t necessarily have to be photography related, and you’d want to avoid “copying” someone else’s style. Look for visual inspiration based on the adjectives you’ve defined in the previous step, those that you want your brand to be associated with. These can be editorial, lifestyle, commercial, travel, architecture or product brands. Make a list of five to ten websites that you particularly enjoy, and elaborate what you like about each of them. Use this information to plan your own aesthetic direction.
Choose your fonts
Once you define the visual direction it’s time to choose your font pairings. Squarespace offers a huge collection of free fonts within their Site Styles settings, and choosing one can be quite an overwhelming process. But don’t worry, our designers did the homework for you - here are 7 gorgeous Font Combinations that are also available within your site styles. You can also upload your own custom font to match your brand identity. If you are not a typography guru, try to look for online examples of font pairings that fit best your inspiration board. The main fonts that you’d need to define are headings, body text, and meta fonts (font used for buttons, blog categories, entry dates, etc.). Check out this article to learn how fonts work inside Squarespace.
Create a moodboard, choose your color palette & decorative elements
Depending on the visual direction you chose, you might need to establish color swatches and add decorative elements (ie.graphics, watercolor, etc). Make sure to set clear rules on how you use colors, for example only on buttons or some of the graphics, like dividers between text or sections. The aim is to achieve a professionally looking site and to create a consistent visual system. Take some time to put a moodboard together, as it will help you explore different options in terms of colors, typography, branding elements, and the overall feel of your site. Do you want it soft or bold? Elevated and put-together or playful and frisky? Light or dark? Once you have the right moodboard direction, choosing a website template and customizing it further will be much easier.
Prepare Media: Images, Logo and Favicon
Prepare your logo and favicon (the little icon that viewers see in their browser tab when on your site), so you can upload them to the new site. If you don’t have a logo, that’s totally fine - try to write out your business name and customize it in Squarespace with an available font. It can actually turn out really professional, just think of Vogue or Elle as an example.
Next, select and curate the images that you want to use for hero areas (banners or sliders). Visuals that will appear on your homepage, especially in that top hero section are crucial. They need to be your absolute best photos. A selection of images that represent your brand and style. Choose the photos that will get your target clientele excited to work with you, and thinking “oh, I want that for myself too!”. Size wise, your images shouldn’t be more than 2400pixels in width, jpeg format, saved for web. Otherwise you risk having your website load very slow, and your potential users bouncing from your website (more on this in chapter 5).
Additional Resources:
Dark and Moody Squarespace sites
8 airy photography websites on Squarespace

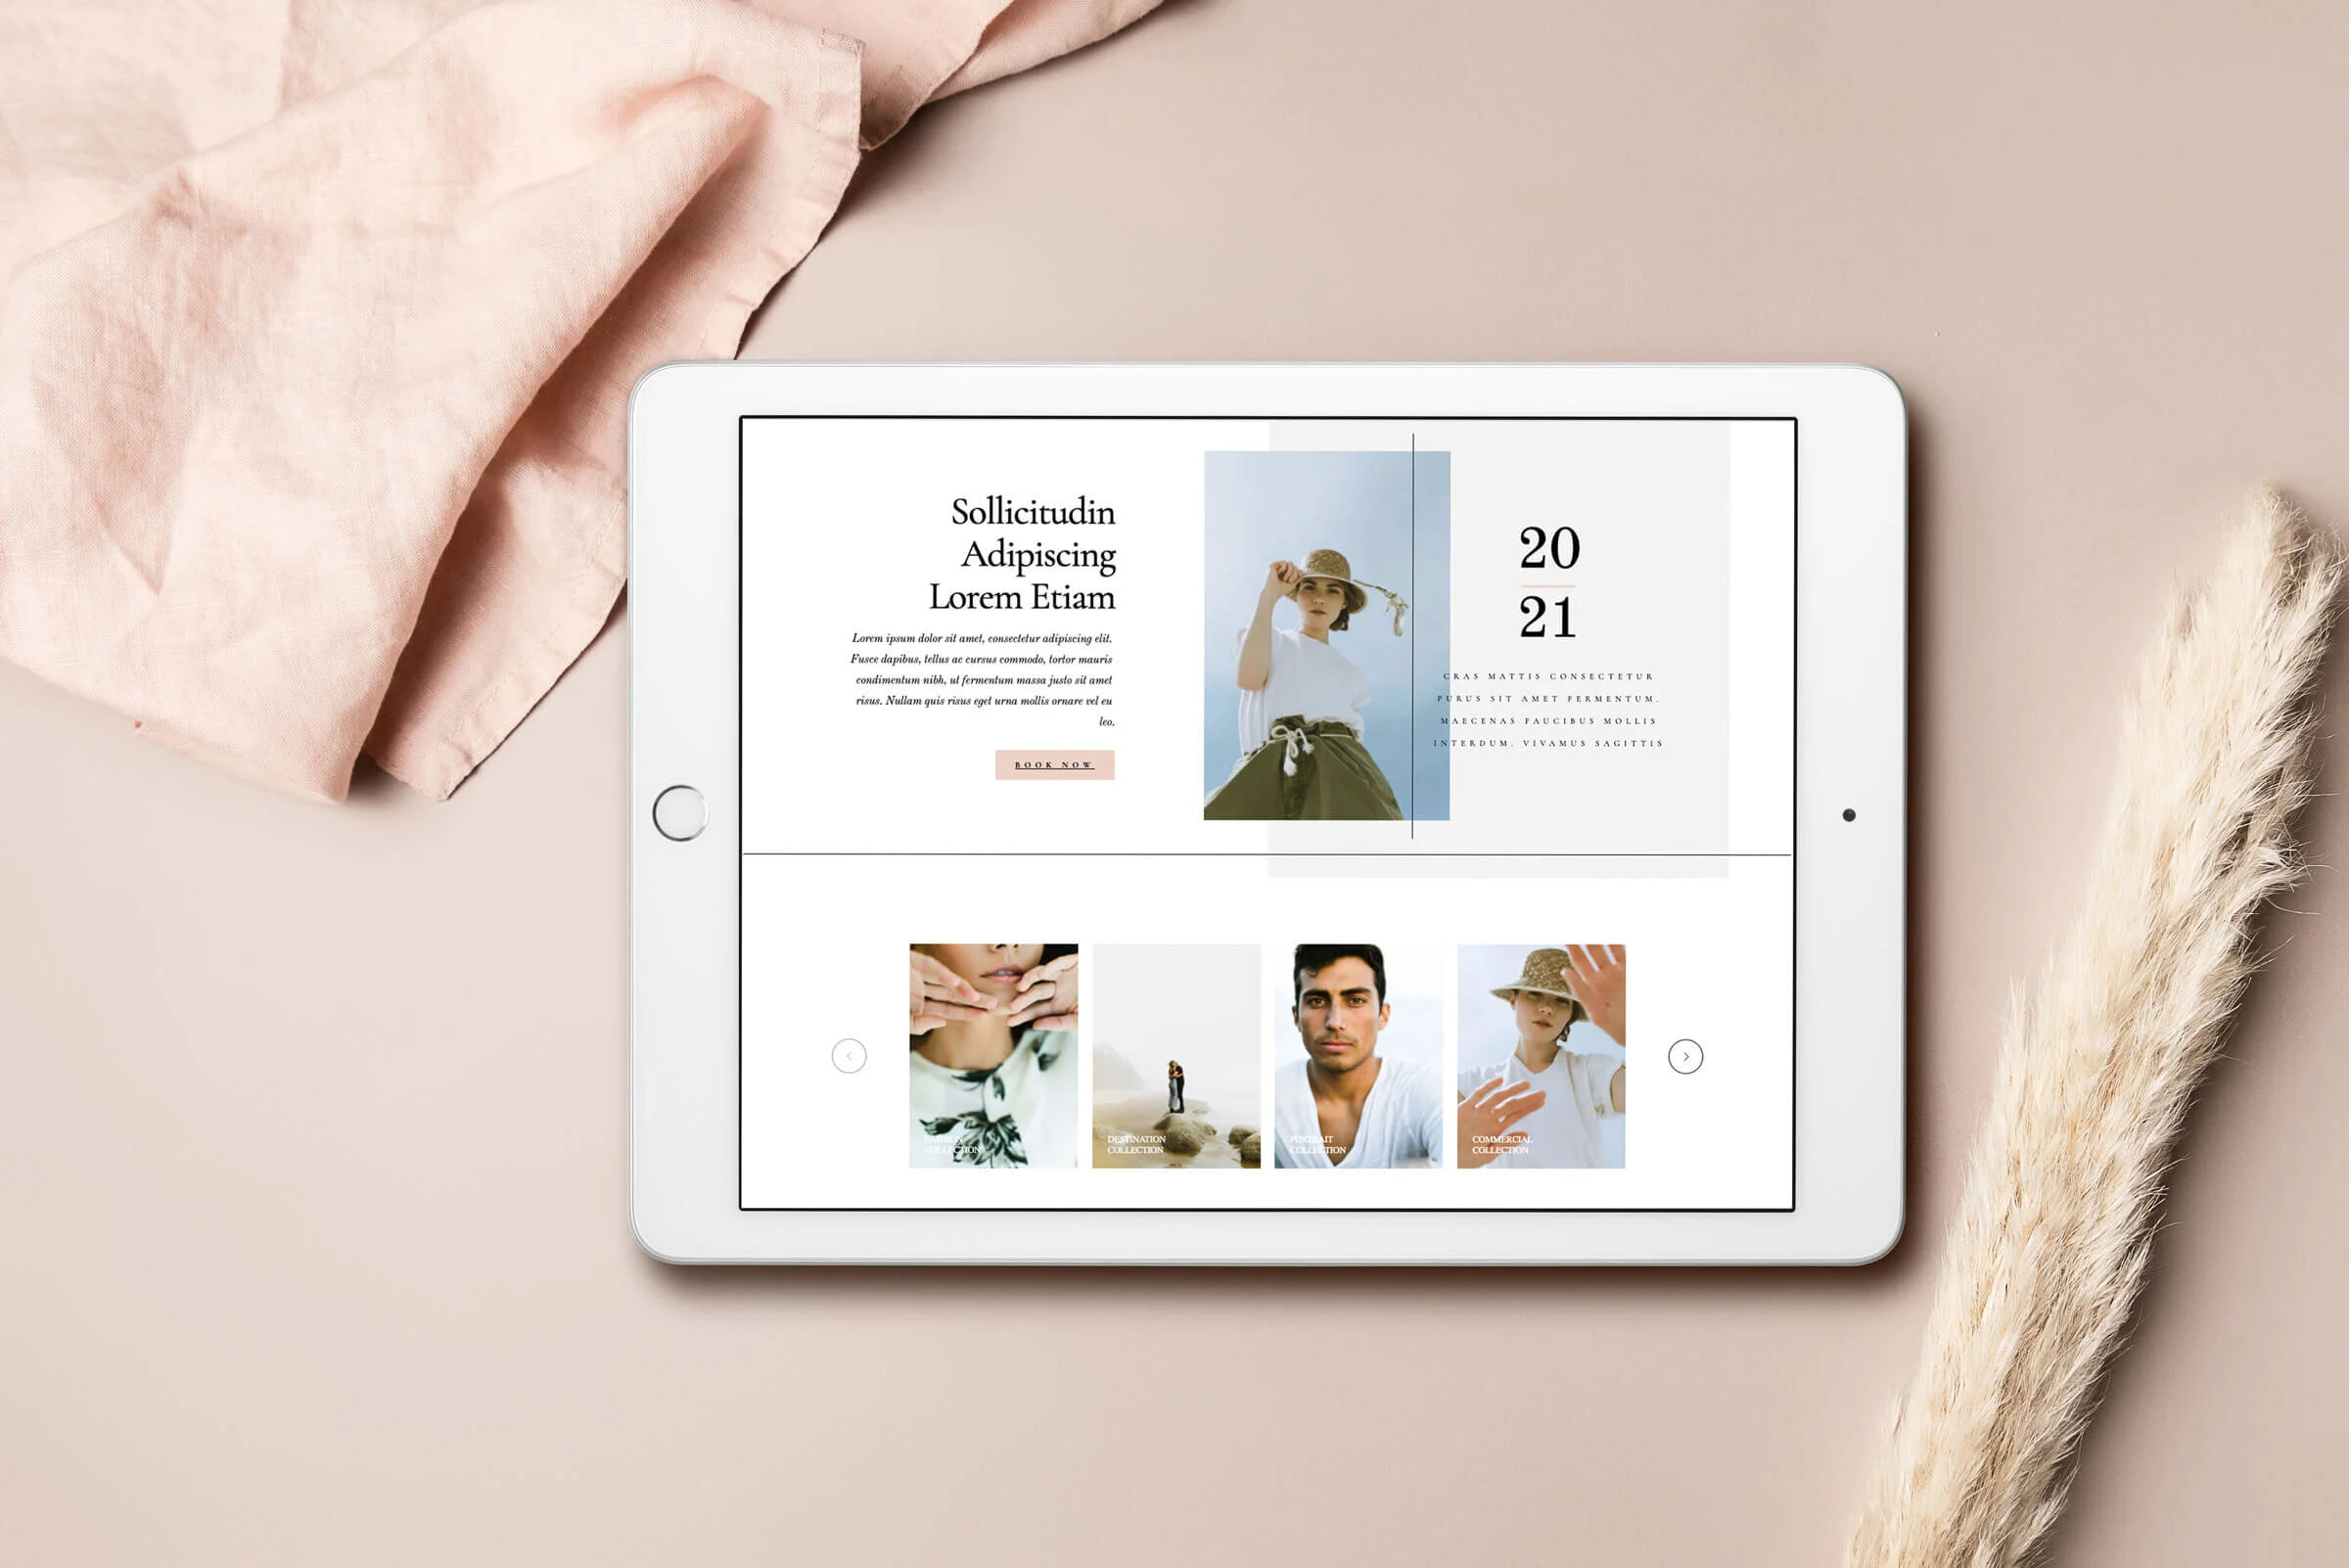
4. Choosing a template and building your site
Start with a template
When you pick a template for your site, pay attention to several aspects: layouts, functionality and aesthetics. Now, all the work you’ve prepared on steps 2 and 3 will be super helpful. You have your sitemap, your content structure and your visual direction - you have a general idea of what your site should look like and it’s time to go template hunting.
Let’s talk about how 7.1 templates work. With this version, all templates share the same underlying structure, the same features and the same styling options. The design (template) you select when starting your 7.1 website is like a starting point for your site layout, and later on you can customize its look, add different page types, without starting over with another template, like you would have in 7.0.
As you’ll follow the Get Started prompts, Squarespace will share a variety of templates for you to choose from. Browse by category - as a photographer you’ll want to look at categories like “Photography”, “Weddings” or “Portfolios” - and take your time to select the one that speak to you the most.
*In 7.0 templates work in a different way. Not all templates have the same technical setup options, so when choosing one, it’s important to look into certain functionality aspects. Given that you are looking to build a portfolio site, it’s important to choose a template that is image focused, Photographers will need a template that allows to showcase sliders, galleries and featured posts., so we recommend the Brine family templates. Find more details on Squarespace documentation specifically on 7.0 templates here. Read more on Squarespace versions and templates for each here.
Start with your general styling settings
Squarespace 7.1 version offers exciting styling features, that make website building really fun. The main ones are related to Font Pairings and Color Themes. You need to start your website styling with them.
*Check our this article to learn about all available style and design options in 7.1
Fonts. 7.1 version offers prebuilt and curated font packs that you can use to set your global font styles and assign them to different elements on your site. Start by assigning one of the font packs to your style, or tweaking them according to your preference or to your branding. Begin with the basic settings: Headings, Paragraphs, Buttons and Meta fonts. Then you can proceed to updating other fonts on your site, like site title, site navigation, blog fonts (blog titles, excerpts) and other pages on your site.
Color Themes. As with fonts, Squarespace 7.1 comes with predefined color palettes (ranging from light to dark) that you will further use and create a general color theme for your site. This will help you keep a cohesive and consistent style across the whole website. If none of available colors suit you, you can use your own colors and create a custom palette, by using the tones of your brand, for instance. You have the option to make global changes to the whole site or to make color changes to each section individually. Check out this article to learn more about changing colors on your site.
Understand Squarespace Blocks and Build your Pages
Now that you have some general settings ready, you will find it visually easier to build your pages.
You can explore and use Squarespace’s library of predefined sections, categorized based on functionality or type of content. Or you can build your pages from scratch. Adding blocks in Squarespace is pretty much like playing with Lego - drag and drop the blocks and sections, personalize them and your page is ready.
Some of your inspiration ideas may not be available as predefined sections or available blocks inside Squarespace, and that’s when custom CSS code will be needed. But since you’re only starting out, it’s best to try and make it work with the predefined options, without using any code. Get acquainted with all the available blocks and page sections on Squarespace 7.1. Here is a video that reviews the main blocks that you’ll probably use when building your pages.
For more advice and website inspiration join Squarespace Users online community.
Enhance your site - Consider Premium Pre-Built Designs
Squarespace is known for its beautiful templates and their ease of use. However, as you’ve already learnt, even with Squarespace - building a website requires numerous decisions to make your website design unique to your brand.
If after reading all these steps you feel overwhelmed, confused or scared to even get started - don’t let this feeling put your business on hold, and delay the moment when you launch your beautiful website. There are pre-made design kits available, which have been thought through by a professional design team, and are really easy to set up. Furthermore, these design kits look absolutely stunning, and can easily be adapted to various types of portfolios and brandings. A good example are the design kits created by Squaremuse.
Squaremuse design kits are tailored to fit the needs of photographers and creative vendors. And even though you might think that it’s an additional cost to your budget, you’ll be getting a custom looking website for the price of a template. It’s actually a very thoughtful investment. You get easy to follow video tutorials that guide you through the whole process up till launch. The designs include CSS codes, graphic elements, insights into the Squarespace platform and features. All of which would cost you much more if you were to hire an a designer or developer.
If you don’t want to commit to a full design kit, Squaremuse offers Custom Squarespace Blocks that you can purchase individually. From Sliders, Summary Posts and Testimonial sliders to FAQ blocks and Image Cards. Adding as little as one custom element on your homepage, will definitely make your website stand out of the rest.
Tip: Join Squaremuse Designs Facebook Group to connect with other photographers and creatives who already use Squaremuse designs.
You can also enjoy a 25% discount on all Squaremuse Design Kits with code: UNRAVELED

5. Keeping in mind SEO
SEO stands for Search Engine Optimization. Improving your site SEO means making adjustments to your website, so that your users can easily find it when they search for photography services online. There is a list of things that you need to know about to make your Squarespace website more SEO and Google friendly. These are:
Font hierarchy. Just like a real person, Google skims through all your content, trying to understand it and rank it in search results based on relevance. To help Google’s boots better read everything on your site, you need to structure your page content into a hierarchical manner (H1, H2, H3, H4, paragraph text). Your main headline should be set as H1, and there should be only one H1 per page, otherwise you’ll be penalized and drop ranking points, rather than gain them. Other large titles on the page should be set as H2, subheading for those are H3 and the same logic goes for the rest of the content. For more information about Headings and their impact on SEO, check out this article -“Are H1 Tags Necessary for Ranking?[SEO Experiment]”
Page Descriptions and Titles. These are important elements for your SEO. Make sure that each page targets certain relevant keywords that you want to be discovered for. They should differ though, don’t use the same keywords for all your pages, because they will end up competing with each other. Better, use synonyms and similar words as keywords for each of your main pages. To view page titles, go to Pages → then for each page, click the gear icon and access the SEO section. There, you can set the title and description for the page. Once Google reads your page, it gets indexed and starts appearing in search results. If you have certain pages on your website that you want to hide from Google and don’t need them indexed, simply click on Settings → SEO → Hide from Indexing.
Image size. Large images slow down your website, and if a website loads forever - your users won’t have patience and will leave to check out a competitor. A highly important recommendation for image heavy websites is to optimize ALL uploaded images. We know, as a photographer, downsizing your images sounds horrific. Yet think logically, most of your clients won’t access your website from a 5k screen, but rather from their phone or laptop. Would you rather have them waiting for 5-10 seconds for your site to load, and lose at least half of those site visitors? Or would you be open to use specialized optimization tools that will reduce your image sizes without any visible impact on their quality, like JPEGmini and TinyPNG. Recommended image size for Squarespace is between 1500 and 2500 pixels in width. See more recommendations on how to save images on web for Squarespace in this article.
Additional Resources:
SEO for Squarespace 40+ pages eBook - download for free
How to use keywords on Squarespace for better SEO
How to choose the right keywords for your photography business
6 ways to clean, declutter and improve your Squarespace website

6. Site Metrics and recommended tools
It is important to analyze your site performance and to keep improving it. Even though with Squarespace you have access to the native analytics tabs directly inside your account, we highly encourage every website owner to create an account and connect Google Analytics and Google Search Console to your site from day one. They are both free and are much more informative and extensive than Squarespace’s native analytics. Google Analytics will help you understand who visits your site, where they are located, how they find you, what your most popular pages are etc.
Google Search console will help you identify errors, broken links as well as how well your site performs in organic Google searches.
Here are some additional tools you can integrate with your site at this point:
Narrative | Photo Blogging Software Here is how to set it up with your Squarespace site
Flodesk | Email Marketing (also beautiful pop-ups). Check out this article for a tutorial on how to integrate it with your Squarespace site.
Squarespace plugins and custom elements to enhance your website - anything from sliders, summary blocks, to image cards or contact forms.
Additionally, check out this article for more free and affordable tools for photographers (website and non-website related).

7. Launching Your Site
Yay, you’re almost ready to launch your beauty into the online world. Before you do that, here are a few steps we recommend you to check in order to make sure everything works smoothly and looks seamless:
Proofread your site, at least twice. Then, have a friend check it, too.
Optimize it for mobile and tablet
Have all your fonts consistent and make sure you don’t have any default fonts from the template.
Check all your links and buttons, make sure they work properly and don’t lead to non existing pages
Add a Favicon
Add HTTPS by implementing an SSL certificate to your site
Connecting your domain
Now that your site is ready, it’s time to connect your domain, or if you don’t have one, you can purchase it directly fromSquarespace. Their plans include one free custom domain for a year with annual billing. Read more on Squarespace domains here. If you need to transfer your existing domain to Squarespace, it can easily be done - see their native documentation at this link.
Final words
Congrats, you’ve made it, and you did it all on your own! Getting a new website up and running takes a bit of patience, creativity and time. But we know you’ve got it! Squarespace has a quick learning curve and luckily, it has plenty of documentation and free resources available online. Don’t stop here, keep an eye on those metrics and keep investing your efforts into it. We truly hope that your website will grow and improve over time, will get you the exposure you deserve and it will make you so so proud of yourself.
This Article was written by our Partners, Squaremuse. Stay connected with them: